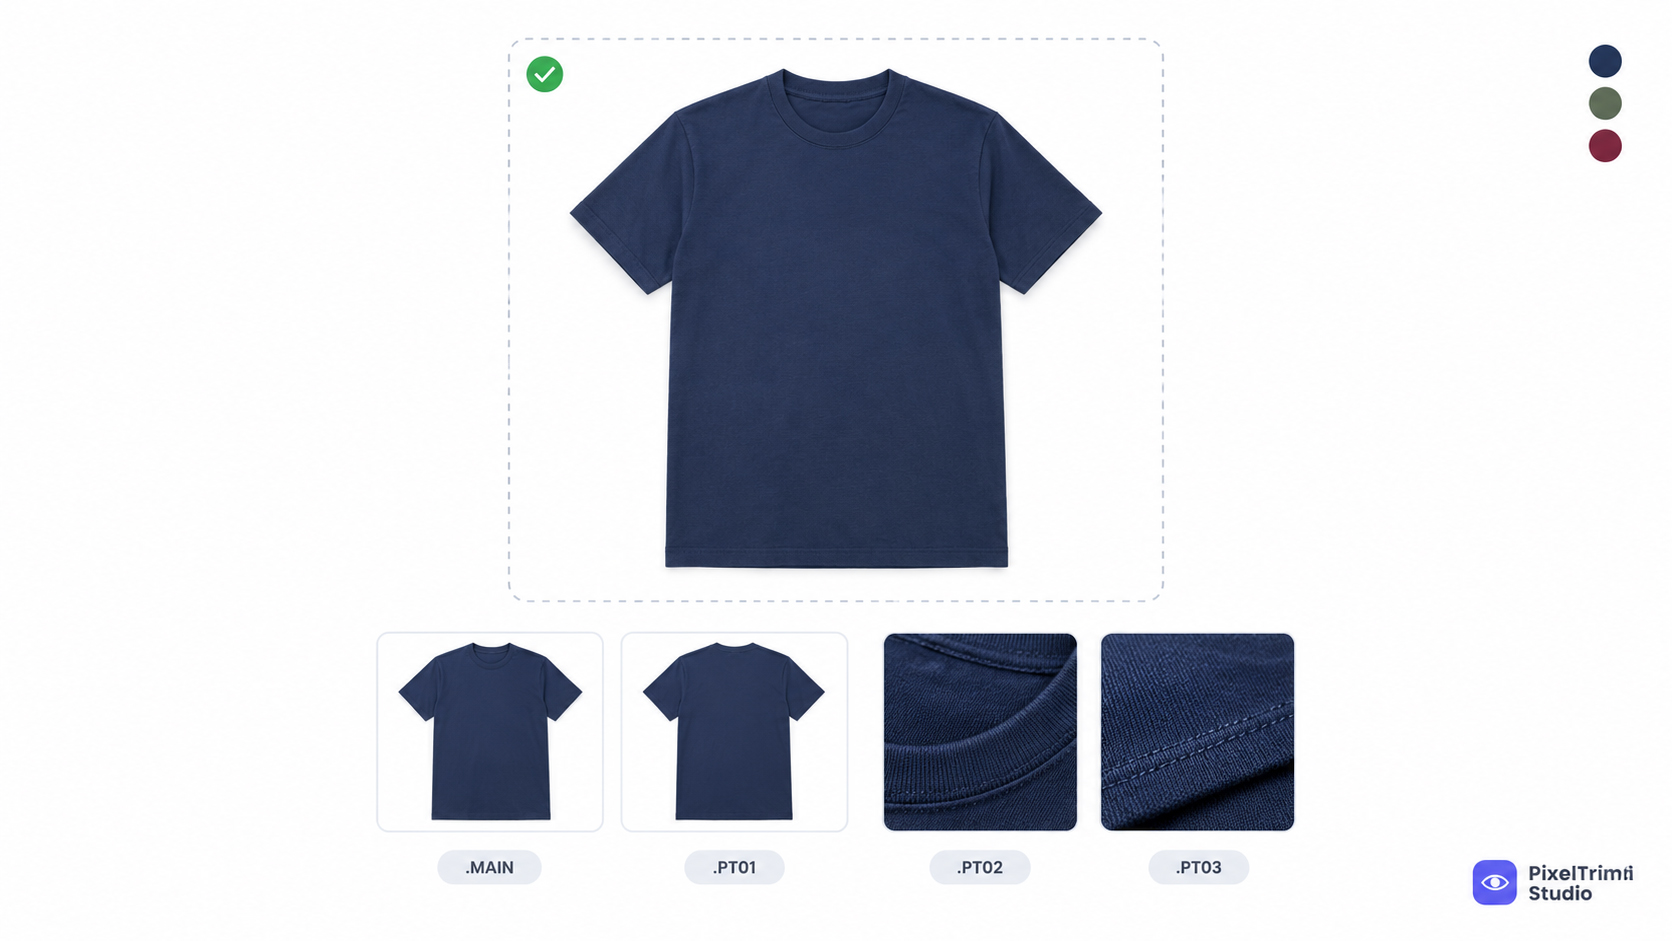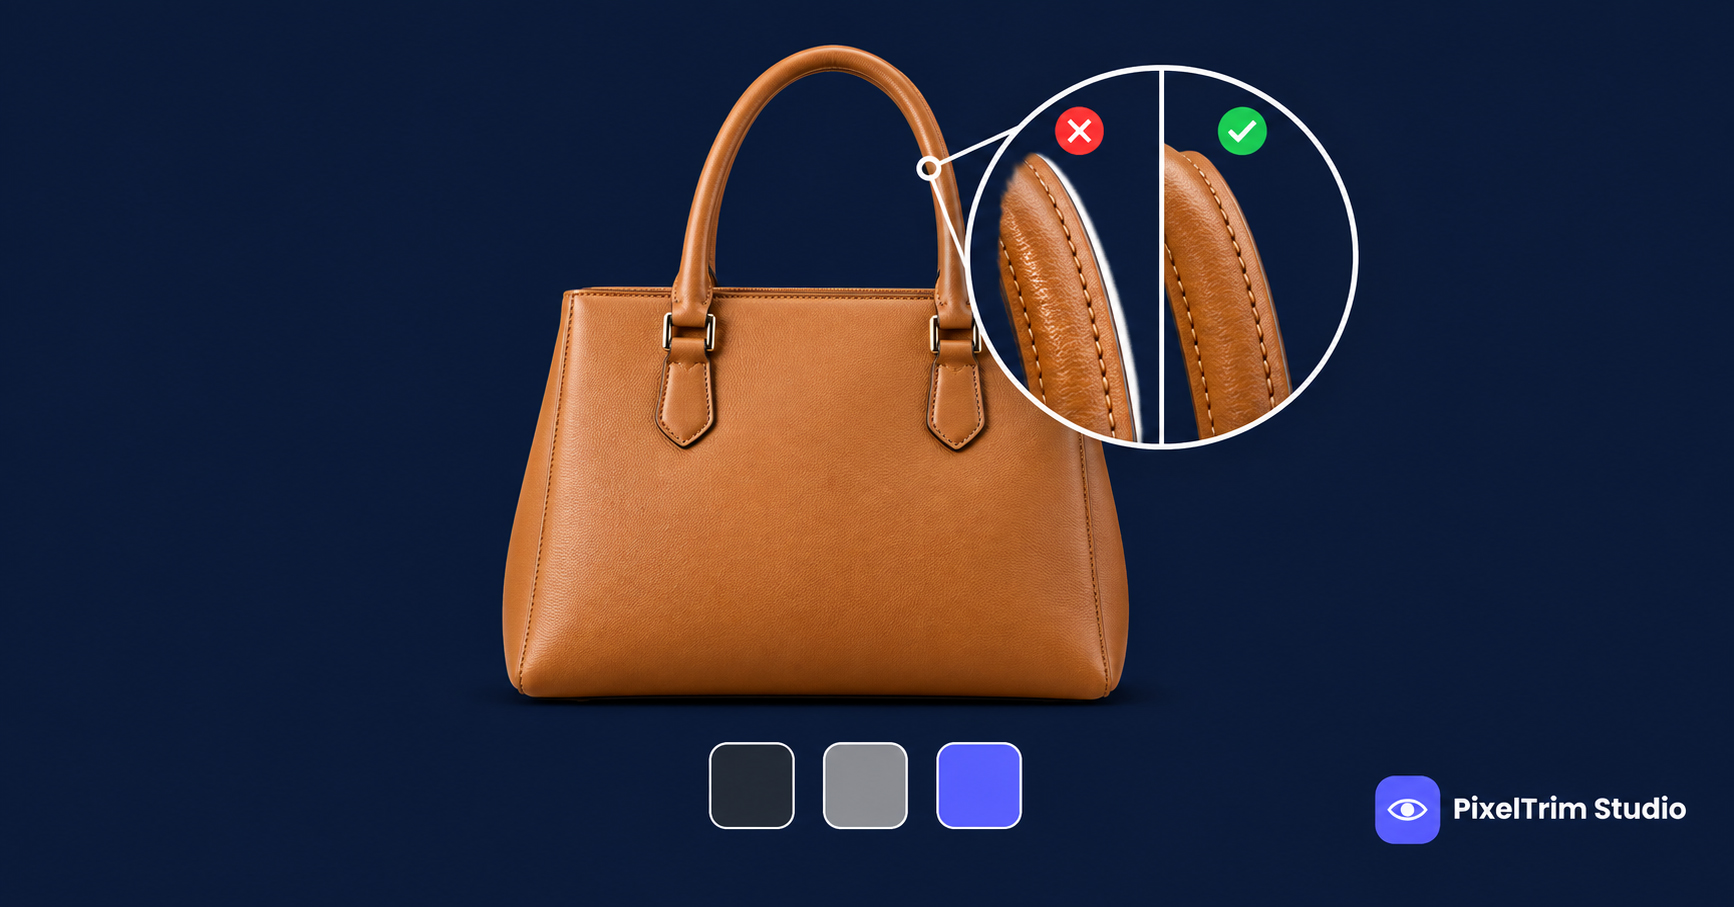
You cut the product out, it looks perfect on white, then you drop it onto a dark banner or a brand-color section and a thin bright rim appears around the edge. That rim is a white halo, and it is one of the fastest ways to make a cutout look cheap. This guide shows what causes it, how to tell which type you have, and the fix that works in five steps.
What a White Halo Actually Is
Every edge pixel of a photo is a blend of the product and whatever was behind it. Shoot a product against a white sweep and the outermost pixels are part product, part white. Cut the product out and move it to a new background, and those leftover light pixels travel with it. On white you never notice them. On anything darker they glow.
That is why a halo often passes your first check and only shows up later: on a colored collection-page section, a dark ad creative, a transparent PNG placed in a layout, or a print catalog.
Which Halo Do You Have? A Quick Diagnosis
| What you see | Most likely cause | Fix |
|---|---|---|
| Thin bright rim, only on dark or colored backgrounds | Edge pixels still carry the old white background color | Defringe, or Decontaminate Colors (steps 3 and 4 below) |
| Faint gray or off-white outline even on a white background | Cutout left 1 to 3 px of a gray studio sweep or shadow | Shrink the selection or path by 1 px and redo the edge |
| Bright glow that follows high-contrast edges | Over-sharpening or heavy Clarity and Contrast before the cutout | Undo the sharpening, cut out first, sharpen lightly at the end |
| Wide soft halo, blurry edge | Feather radius set too high on the selection | Set feather to 0 px and refine the edge instead |
| Jagged rim with missing or bright fine detail (chains, straps, lace) | One-click AI remover guessing at thin parts | Redo with a manual path or mask (see the section on when the fix won't work) |
The 5-Step Fix in Photoshop
- Zoom in to 200 to 300 percent and preview on a dark layer. Put a solid dark or saturated color layer under the cutout. A halo you cannot see on white is obvious here, so you know exactly where to work.
- Shrink the edge by 1 px. On the layer mask, use Select and Mask and pull Shift Edge slightly negative, or contract the selection by 1 px before masking. This removes the outermost ring of contaminated pixels.
- Run Defringe. With the layer selected (not the mask), go to Layer, then Matting, then Defringe and enter 1 to 2 px. Photoshop replaces the edge color with the color of nearby pixels. It works on the layer pixels only, so it will not change a mask.
- Use Decontaminate Colors when edges are soft. In Select and Mask, tick Decontaminate Colors under Output Settings and output to a new layer with a layer mask. This rebuilds edge colors from inside the product instead of from the old background.
- Re-check on three backgrounds. Dark, mid-gray and a saturated color. If a rim is still visible on any of them, repeat step 2 by another pixel, not by a larger feather.
Other editors have a similar tool. Affinity Photo, for example, has a Remove White Matte filter built for exactly this problem. The logic is the same: pull the light edge color out, do not just blur it.
When the Fix Won't Work
Defringe is a repair tool, not a cutout tool. If the edge itself is wrong, the halo comes back.
- AI cutouts on thin or transparent parts. Chains, laces, glass and mesh are where one-click removers leave halos and chewed edges. Our manual clipping path vs AI background removal comparison shows where each approach holds up.
- Hard-edged products. Bottles, shoes, bags and furniture need a clean pen-tool path placed a hair inside the true edge, so no old background is included in the first place.
- Fur, hair, fringe and soft fabric. A hard path cannot follow these edges. They need a pixel-level mask with color decontamination. If you are unsure which one your photo needs, read clipping path vs image masking.
Before You Export: The Three-Background Test
A finished cutout should survive three quick checks:
- Dark background: no bright rim around curves or corners.
- Brand-color background: no pale outline where the product meets the color.
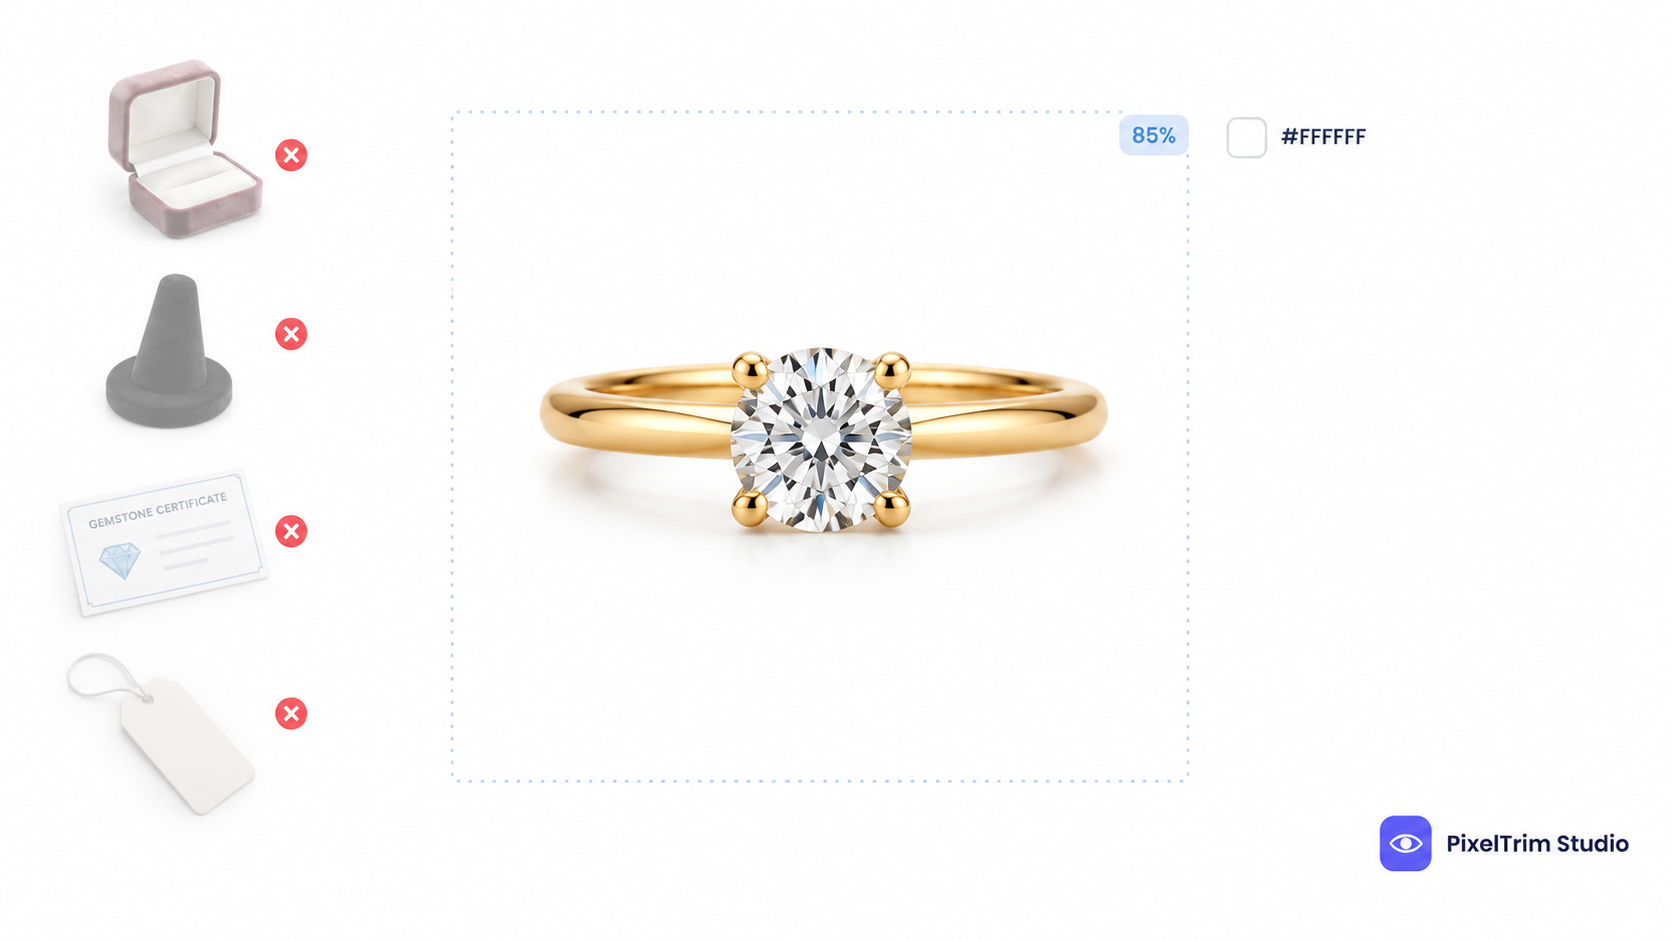
- Pure white (#FFFFFF): no gray ghost line. Our pure white background guide covers how to confirm the exact value with a color picker.
Passing all three means the file can be reused on a marketplace listing, an ad, a lookbook and a print catalog without being cut out again.
What Halo-Free Cutouts Cost
If you would rather not fix edges image by image, manual cutout work is priced per image by complexity. These are the current rates from our service pages:
| Service | Simple | Medium | Complex |
|---|---|---|---|
| Clipping path (hard edges) | $0.39 / image | $0.69 / image | $0.99 / image |
| Image masking (hair, fur, soft edges) | $0.59 / image | $1.29 / image | $2.49 / image |
Turnaround is 24 to 48 hours with one free revision. For what drives price up or down across providers, see our clipping path pricing guide.
Frequently Asked Questions
Why does my cutout only show a white halo on dark backgrounds?
The edge pixels still contain some of the original light background. On a white background they blend in, but on a dark or colored one they show as a bright rim.
What is the fastest way to remove a white halo in Photoshop?
Shrink the edge by 1 px, then run Layer, Matting, Defringe at 1 to 2 px. For soft edges, use Decontaminate Colors in Select and Mask instead.
Does feathering the edge remove a halo?
Usually no. A larger feather blurs the rim into a wider, softer halo. Shrinking the edge and decontaminating color works better than feathering.
Why do AI background removers leave halos?
They estimate the edge instead of tracing it, so a thin strip of the old background often stays on curves, thin parts and semi-transparent areas.
Do I need clipping path or image masking to avoid halos?
Use a clipping path for hard, solid edges and image masking for hair, fur, mesh or glass. Many catalogs need both, applied to different products.
Got cutouts that glow on a colored background? Send two images for a free sample edit and compare the edge on a dark background yourself.
Tags
Ready to get your images edited?
Upload 2 photos for a free trial edit — returned in under 24 hours.
Start free trial →