Not every product photo can be cut out with a single path. A watch with a metal case, a leather strap, and a glass face needs each part treated differently — that's where a multi clipping path service comes in. Instead of one outline around the whole product, the editor draws separate paths for each distinct part, so every section can be color-corrected, shadowed, or masked on its own.
If your product has more than one material, color, or texture in the same shot, a single clipping path usually isn't enough to get a clean, sellable image. If you're new to the technique itself, start with our what is clipping path overview.
Table of Contents
What Is a Multi Clipping Path?
A multi clipping path is a set of separate, closed vector paths drawn around individual parts of one product — not just the outer edge. Each path becomes its own selection, which means each part of the product can be edited independently.
Think of a sneaker photo. The rubber sole, the mesh upper, the laces, and the metal eyelets all behave differently under light and color correction. A single path around the whole shoe treats it as one flat object. A multi path treats it as four or five objects that happen to sit next to each other.
Single vs Multi Clipping Path — What's the Real Difference?
A single (basic) clipping path is one continuous outline — good for simple, one-material products like a plain mug or a flat piece of paper.
A multi clipping path breaks the same product into multiple closed paths. Each one can get its own color tweak, its own shadow direction, or its own background swap, without touching the rest of the image.
The difference isn't about difficulty of the outline — it's about how many independently-editable regions the final file has.
When Do You Actually Need Multi Clipping Path?
Products with multiple color zones
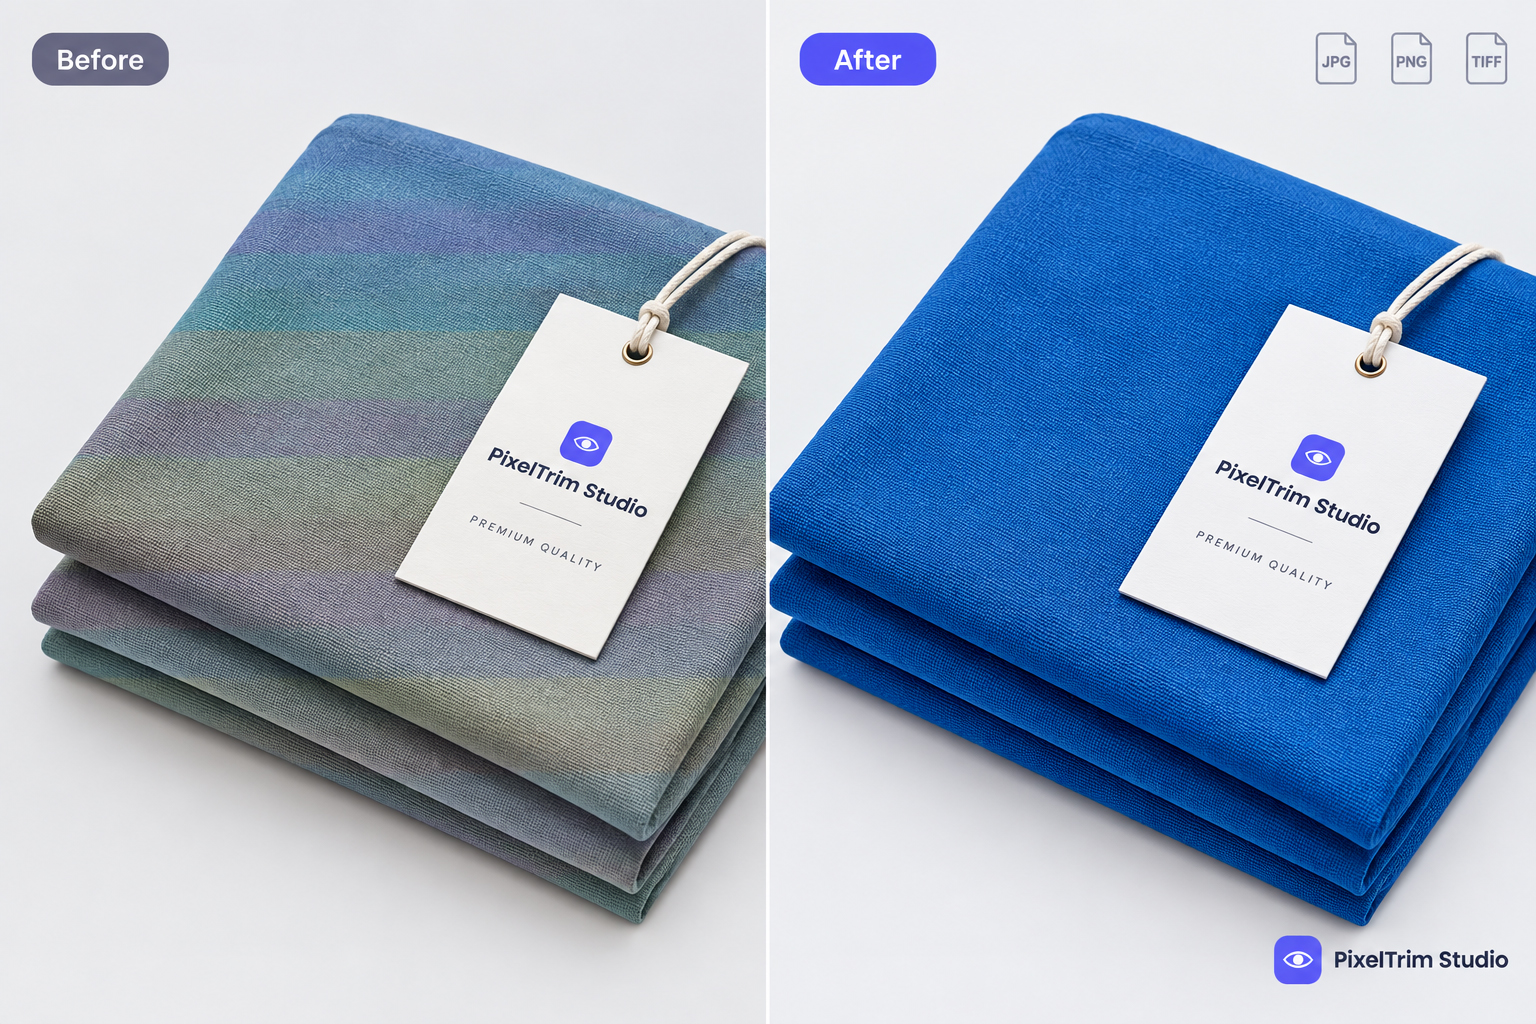
A phone case with a clear back and a colored bumper, or a bag with two-tone leather, needs separate paths so each color can be corrected without shifting the other.
Jewelry with mixed materials
A ring with a gold band and a gemstone needs the metal and the stone treated differently — metal usually needs a cooler retouch, while a stone needs its own highlight and clarity work. See our jewelry photo retouching service for more on this.
Apparel with hardware and trims
Zippers, buttons, logo patches, and stitching on a jacket often need individual attention so they don't look flat or lose detail during background removal.
Catalog images built for reuse
Some brands want the same product shot usable across multiple listings — a different background for the website versus the marketplace. Multi clipping path makes it possible to swap backgrounds behind different parts without redoing the whole image.
Composite or "flat lay" style images
When a product is combined with props, packaging, or accessories in one frame, each element usually needs its own path so it can be repositioned, resized, or removed later without affecting the rest.
How the Process Works
- Image review — the editor checks how many distinct parts the product actually has and which ones need separate treatment.
- Individual pen tool paths — each part gets its own closed path, drawn by hand for clean, accurate edges (not auto-generated selections).
- Layer separation — each path is converted into its own layer or channel, so it can be edited without affecting the others.
- Part-by-part correction — color, shadow, and background work happen per part.
- Recombination and review — the parts are merged back into one final image and checked for seams, halos, or mismatched edges.
This is slower than a single-path job simply because there's more manual outlining involved — it's not a different tool, just more of the same careful work per image.
Multi Clipping Path vs Image Masking
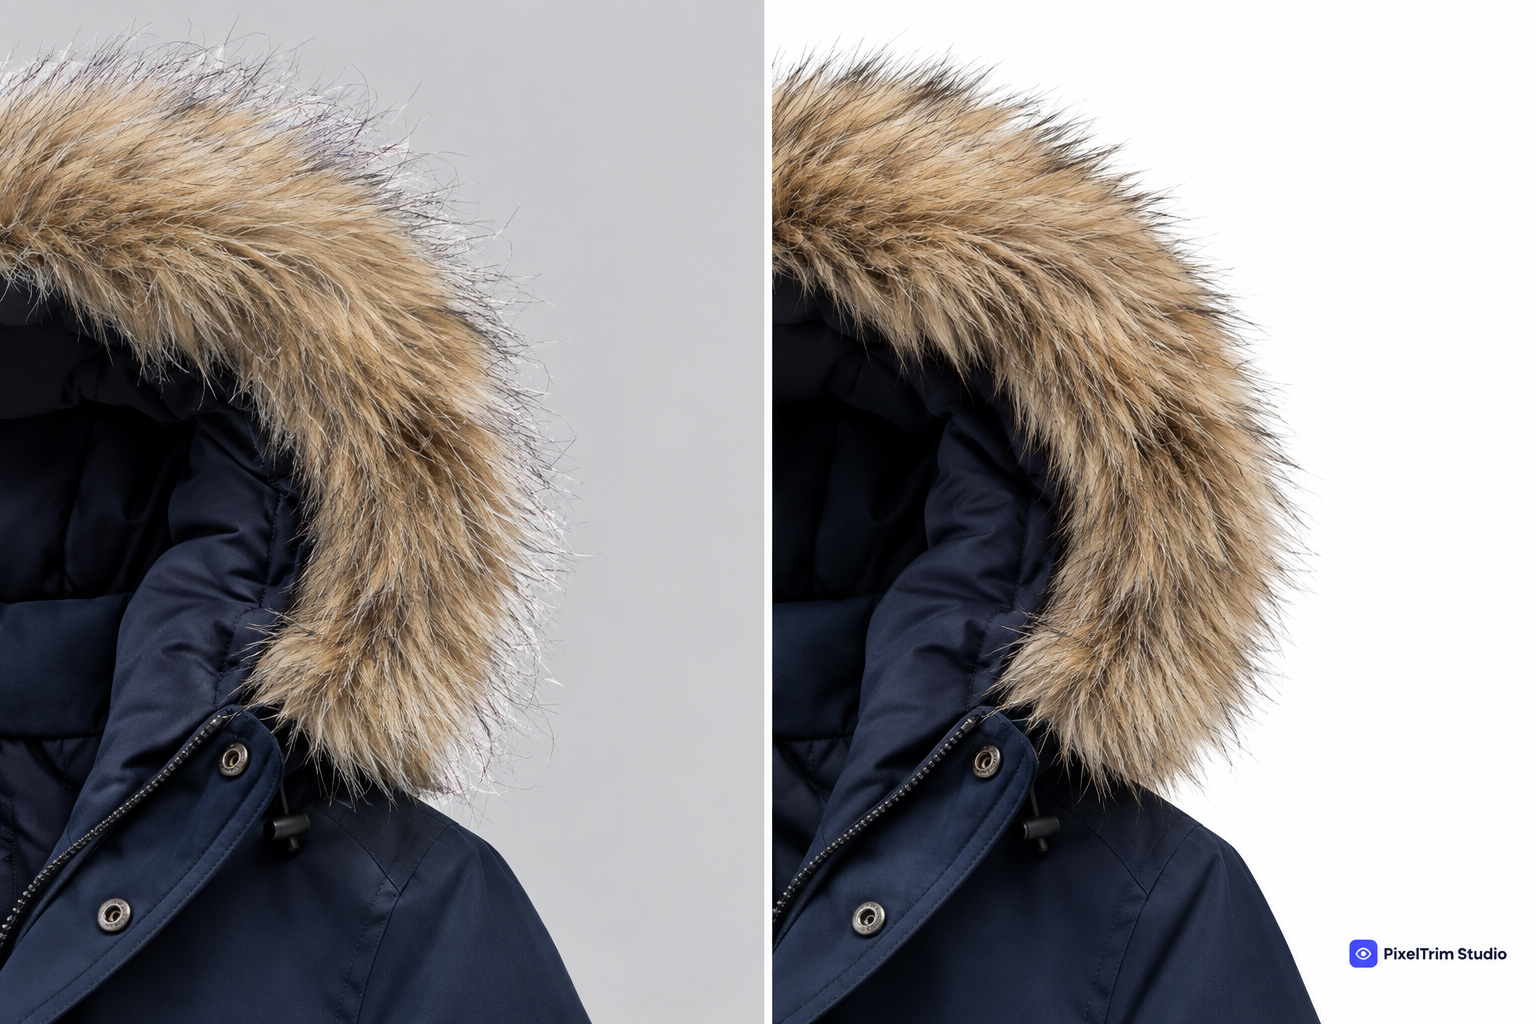
These two get confused often. A multi clipping path uses hard, defined vector edges — good for products with clean, distinct boundaries like hardware, packaging, or solid materials. Image masking uses soft, pixel-based edges — better for hair, fur, fabric mesh, or anything with fine, uneven detail. New to masking itself? See our what is image masking guide.
Many real product shots actually need both: a multi path for the solid parts and a mask for something like a furry collar or mesh fabric on the same product. For a deeper comparison, see our Clipping Path vs Image Masking guide.
Common Mistakes Brands Make
- Asking for a single path when the product clearly has multiple materials — this usually means a second editing round later, which costs more time overall.
- Not flagging hardware or trims to the editor — small details like zippers or clasps get missed if the brief doesn't mention them.
- Assuming multi clipping path and masking are interchangeable — using the wrong technique on the wrong material leads to hard, unnatural edges or blurry ones.
- Skipping a final zoom-in review — seam lines between paths are easiest to catch at 100–200% zoom, not in a small thumbnail.
Why It Costs More (and Why That's Fair)
A multi clipping path job takes more manual path-drawing time than a basic cutout, so pricing is usually per-path or per-complexity-tier rather than a flat per-image rate. Check current rates directly with the team, see our clipping path pricing guide for the general ranges, or compare against our general clipping path service pricing.
FAQs
1. What's the difference between clipping path and multi clipping path?
Clipping path is one path around the whole product. Multi clipping path is several separate paths for different parts of the same product.
2. Do all product photos need multi clipping path?
No. Simple, single-material products (a plain box, a flat sticker) usually only need a basic path.
3. Can multi clipping path be combined with masking?
Yes — many jobs use paths for hard-edged parts and masking for soft or textured parts on the same image.
4. Does multi clipping path take longer to deliver?
Usually a bit longer than a single-path job, since each part is drawn and reviewed separately.
5. Is multi clipping path only for jewelry and apparel?
No — it's used anywhere a product has more than one distinct material or color zone, including electronics, furniture, and packaging.
6. How do I know if my product needs it?
If you can point to two or more parts on the product that would need different color or shadow treatment, it likely needs multi clipping path.
7. Can this be automated with AI tools?
Automated tools can rough out simple single-object cutouts, but distinguishing multiple materials on one product reliably still needs manual path work for clean results — see our manual vs AI background removal comparison for where the line is.
8. What file format do I get back?
Typically a layered PSD (so each path stays editable) plus a flattened JPG/PNG for immediate use.
Conclusion
Multi clipping path isn't a fancier name for the same cutout — it's a different level of control over a product photo. If your product has more than one material, color, or texture that needs to look right on its own, this is the technique that gets you there.
Not sure if your product needs a single path or multi path? Get a Free 2-Image Trial →
Tags
Ready to get your images edited?
Upload 2 photos for a free trial edit — returned in under 24 hours.
Start free trial →